Newsletter 2021 Q3 Details
Custom CDC and HW Write Pulse Synchronizer
Introduction
- Custom CDC :
IDS supports multiple CDC synchronization techniques to synchronize data and control signals on the register block HW interface between the register block clock domain and the HW clock domain. These range from simple 2-FF synchronization techniques to sophisticated handshake synchronization.On the hardware side, there are two ways of addressing Clock Domain Crossing (CDC) issues. These are:- CDC without handshake
- CDC with handshake
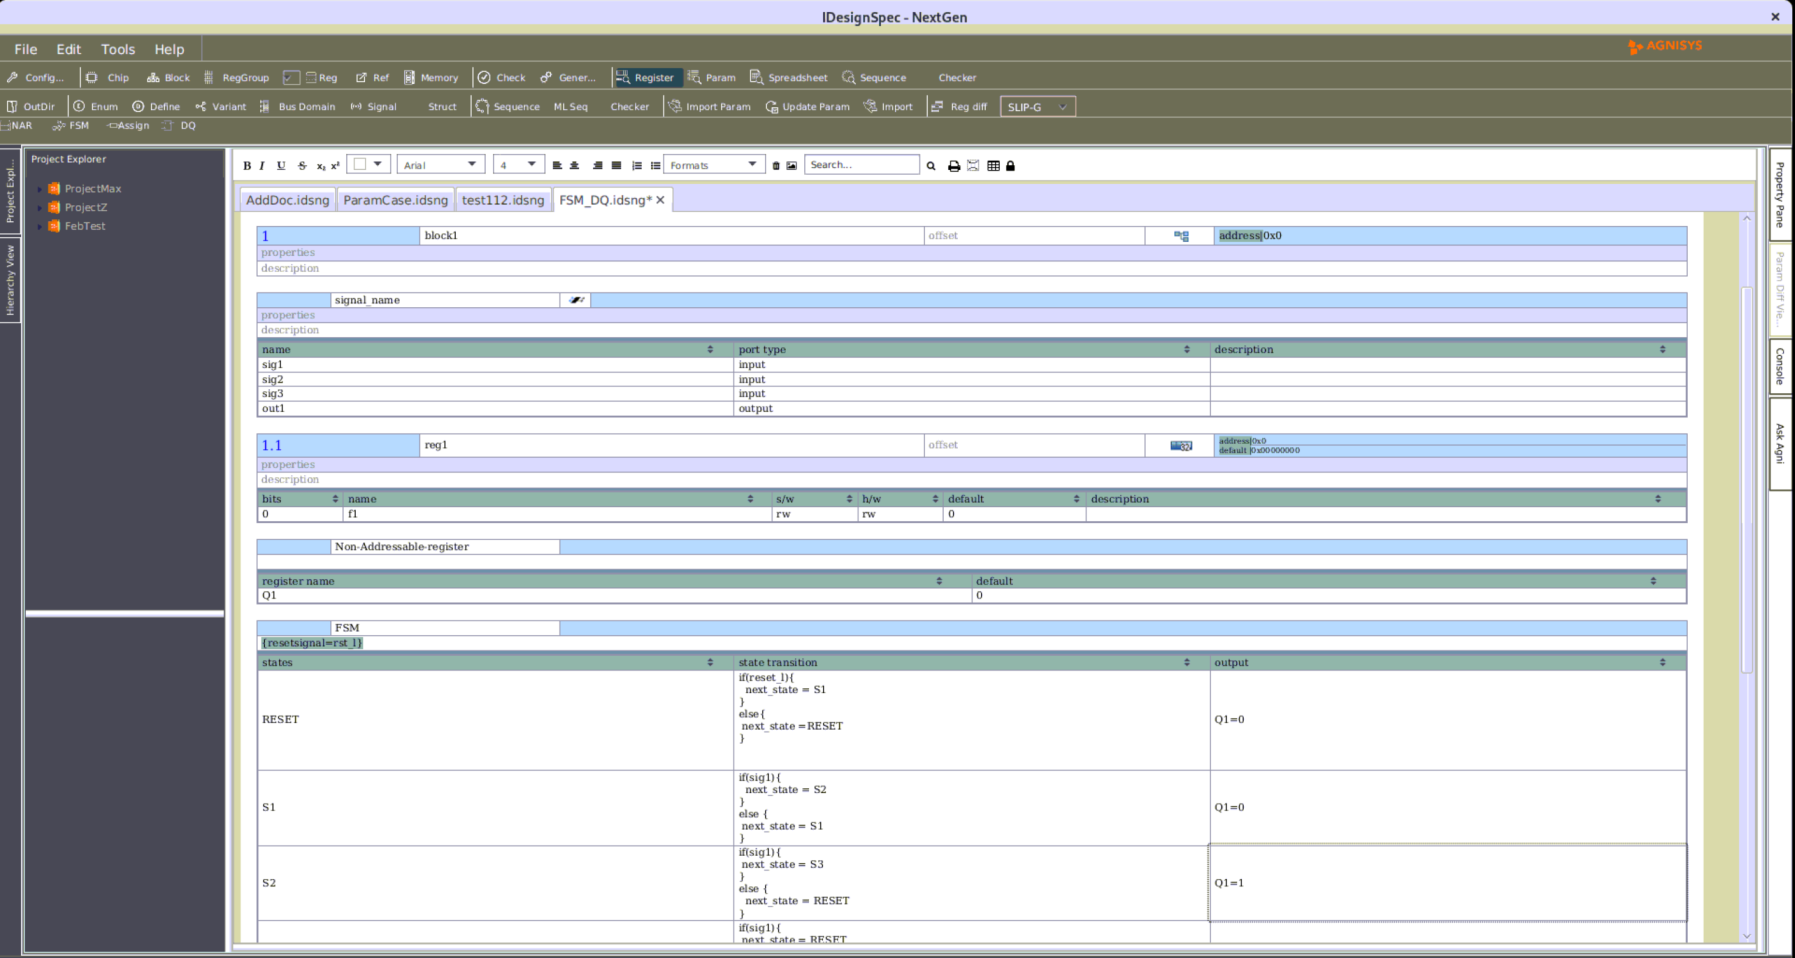
The required synchronizers can be placed at the register field level using different values of the IDS property “cdc.clock” .
CDC HW uses a 2-FF chain, directly in the IDS block or inside a handshake synchronizer module, to synchronize required control and data signals on the HW interface. On synthesizing RTL it is possible that the place-and-route tool can place these flops far apart, causing metastability on the signals being synchronized and thus eliminating their purpose.
To resolve this issue the 2-FF chain for register clock and HW clock is put into separate modules named “agni_sync_sw_block” and “agni_sync_hw_block” and the current 2-FF logic is replaced with these modules in required synchronizers. This flow also allows users to connect their custom implementation for the FF chain. They need to instantiate their logic inside the “agni_sync_blocks”.
This enhancement is incorporated in the IDS CDC flow using the new top property “custom_sync=true”.
To preserve user logic in the “agni_sync_sw_block” and “agni_sync_hw_block” modules, the “custom_sync” property accepts a colon (:) separated second argument, “no_generate”, which tells IDS to not generate the “agni_sync_block.v” file. By default, IDS generates the “agni_sync_block.v” file in each IDS run.
- HW write pulse synchronizer
The write 2-FF synchronizer is used to synchronize hardware events on a single width data inline (<reg>_<fld>_in), into the register field that does not have the field hw write control signal (<reg>_<fld>_in_enb). This can be used to synchronize a slow async HW pulse into a fast register bus clock domain.
A simple example of it can be synchronizing a status event into a single bit field having the IDS property “rtl.hw_enb=false” (this property disables the generation of hw write control signal <>_in_enb).
This enhancement is incorporated in the IDS CDC flow for HW writable fields having the “rtl.hw_enb=false” and “cdc.clock=<hw_clock>” properties. In the case of “rtl.hw_enb=false” an extra property “rtl.precedence=sw” also needs to be added.

Fig. 1 HW write pulse 2-FF synchronizer
In case the top property “custom_sync=true” is applied, the 2FF synchronizer logic will be replaced by the “agni_sync_sw_block”. In the initial version, the agni_sync_blocks will be a 2FF synchronizer by itself. But the user can update them to have any number of FF chains as required. In future revisions, the default number of the FF chain will be made customizable using a property.
Note: The above synchronization configuration must be used to correctly synchronize a slow single-width data inline (<reg>_<fld>_in), but IDS would not restrict if a user applied it on a multi-width data inline. Ideally, multi-width data inline must be synchronized using a HW write control signal (<reg>_<fld>_in_enb).
A new write request is generated when <>_fld_in signal is high and the last event’s acknowledgment has been cleared. The <>_busy_out signal is set at the start of each write_req cycle and it gets cleared at the end of the write_ack cycle.
In the case of custom synchronizer flow the “2-FF wr_req Synchronizer” and “2-FF wr_ack Synchronizer” is replaced by “agni_sync_sw_block” and “agni_sync_hw_block”.
Conclusion
Custom CDC to resolve the metastability causes due to the CDC HW uses a 2-FF chain directly in the IDS block or inside the handshake synchronizer module. The HW Write Pulse synchronizer is used to synchronize hardware events on a single width data inline into the register field that does not have the field HW write control signal. This can be used to synchronize a slow async HW pulse into a fast register bus clock domain.
Read-Modify-Write in ISS
Introduction
Typically, in a register transaction, the entire register is written all at once. When the value of the register needs to be updated from the software side partially then the update should happen in such a way that the rest of the register’s value does not get affected.
When the bit fields of a register are written, it is required to read the register, modify the value with the required value and then write back again with the updated value.

In the above diagram, a simple read-modify-write example shows where the fields “F2” and “F0” are to be written. The value from the register is first read and the bits are updated according to the steps. The final value is then written to the register. For every write there is an overhead of a read cycle, leading to inefficient code. To address the issue, ISS generated firmware optimizes the read-modify-write in such a way that the minimum number of read cycles are required.
Example of usage of these constructs in ISS:
IP Data:

Json IP input:

Sequence data:
Excel/Calc input:

Python input:

The output for the above specification will be as follows:
- When all the fields are non-volatile in a register
In this case, mirrors of the non-volatile registers are created, which store the initial data of the registers. When the field bits of a non-volatile register are written then the local mirror is updated and then a final register write transaction happens.In this case, no read back is required since the register (non-volatile) is only updated through the software side.Code extract for sequence steps:write(reg1.f1,0xF)write(reg1.f2,0xA)
In this case, mirror values are created for the register reg1 according to its default value, and the same is updated for the sequence step, and finally this mirror value is written to the register.

When all the fields of a register are volatile
In this case, read back is required to preserve the field bits which may have been updated from the hardware side.Also, read cycles can be avoided when all the volatile bits have been written by the software side.Code extract for sequence steps:
write(reg2.f1,0x1)
write(reg2.f2,0x3)
In this case, the register reg2 has all the 3 fields volatile, and two of its fields are written then before writing to the register, so a read back happens to preserve the value for the field f3.

NOTE: If the field f3 has also been written then no read back will be required, since all the fields have been updated from the software side.
When the register consists mix of volatile and non-volatile fields
In this case, a mirror will be created for the register. This mirror will be updated according to the field writes.
Read back from the register will not be required when all the volatile fields of a register are written.
Code extract for sequence steps –
Case 1 – When all the volatile fields are written in the register
write(reg3.f1,0x4)
write(reg3.f2,0x7)
In this case, the field f2, which is volatile in the register is updated. Here, no read back is required and hence the mirror value is updated and written to the register.

Case 2 – When the volatile fields are not written
write(reg3.f1,0x9)
write(reg3.f3,0xF)
In this case the volatile field f2 is not written. The mirror value holds the data for the steps written to the non-volatile fields. Before writing to the register a read back happens to preserve the data that may have been updated from the hardware side.

Conclusion:
With the above feature of Read-Modify-Write, the generated firmware uses fewer read cycles. A mirror for each register is created, which stores the default values of the register, and this mirror value is updated after each field write. Depending upon the nature of the register (volatility) and the field bits that are written in a register, it is determined whether the register read transaction is required or not and hence optimized code is generated.
System Validation Using Zephyr
Introduction
A system is defined as multiple modules combined to perform some functionality. It can be developed for any kind of application.
Validation is a set of actions used to check the compliance of multiple modules of a system. Modules can be tested individually, connected to the whole system, or collaboratively at the system level using cross-functionality.
It includes writing tests for each module to be tested individually or the test to work with other modules. Mostly these tests are functional tests.
Zephyr
- Zephyr is based on a kernel designed for use in embedded systems
- Embedded systems include smart wearables and IOT applications
- Zephyr kernels support multiple processor architectures including Arm, Intel x86, RISC-V, NIOS, and more
- Users can build multiple embedded applications based on the listed architectures in Zephyr
- Zephyr provides multiple features; some are listed below:
- Multi-threading
- Interrupt services and subroutines
- Memory allocation
Generally, Zephyr is used to build an application containing multiple modules working efficiently and effectively.
Zephyr can also be used to test the system application software as well as the hardware.
The software includes the drivers and APIs to control the functionality of modules and hardware, and the interconnected modules at the system level having a processing system.
System validation
This process consist of multiple steps:
- Creating a custom board for Zephyr build
- Creating a custom application that includes drivers and API
- Creating a simulation or a validation embedded environment
Creating a custom board
- The board directory is created in Zephyr/board/<arc>/<board Name>
- <arc> will be the processor architecture used for SoC build, such as RISC-V or x86
- The <board Name> directory contains the .dts files in a device tree format and kconfig files for device configuration in Kconfig format
- Sample of a device tree file
- Code to add peripheral devices to the custom board in Zephyr build

Sample of Kconfig file

Creating a custom application

Creating a simulation environment

- The environment consists of processor (RISC-V) RTL with a system bus and connected memory
- SoC modules (DMA to interface memory, PIC for interrupt control, UART to transmit data to console, and timer to control timing processes) are connected via the system bus
- Configuration programs for each module are written as the subroutines along with the Zephyr program
- After building all Zephyr programs and SoC subroutines in the Zephyr environment, a Zephyr binary image is created
- In the simulation, this binary file is loaded to the memory from which the processor executes all the programs
- A Makefile is included in the environment to build and run the simulation
Conclusion
- A real-time OS in the process of validation has increased the scope of testing an SoC
- Automating this whole process improves the quality and accelerates the process of validation
Updates in SLIP-G™
SLIP-G™ (Standard Library of IP Generators) from Agnisys offers configurable standard IP generators as an extension to its addressable register generator tool. These IPs are designed to be easily customizable and configurable to meet any SoC requirement. IDesignSpec™ (IDS) automatically creates register specifications and generates RTL for standard IPs. All SLIP-G generated IPs are characterized by generation time parameters. Users can choose these parameters based on their specific needs.
We have added the following new IPs to our library:
- Integrated Inter-IC Sound Bus (I2S)
- Direct Memory Access using Linked Lists (DMA-LL)
Integrated Inter-IC Sound Bus (I2S)
The Integrated Inter-IC Sound Bus (I2S) is a serial bus interface standard used for connecting digital audio devices together. Many digital audio systems are being introduced into the consumer audio market, including compact discs, digital audiotapes, digital sound processors, and digital TV sound. The digital audio signals in these systems are being processed by a number of (V)LSI ICs, such as:
• A/D and D/A converters
• Digital signal processors
• Digital input/output interfaces

I2S Signals
- SCK (Serial Clock)
- I2S master clock.
- WS (Word Select)
- A logic low on WS indicates that the word currently being transferred is part of the data stream for the left audio channel; logic high on WS indicates right-channel audio.
- SDI (Serial Data In)
- In master as receiver configuration, I2S slave sends the data to the master on this line. The data sampled on the trailing edge (HIGH to LOW) of SCK.
- SDO (Serial Data Out)
- Digital values are transmitted as MSB first.
- In master as transmitter configuration, I2S master sends the data on this line. The data is put on the trailing edge (HIGH to LOW) of SCK.
Possible Hardware Configuration
- Transmitter: Data on the left/right channel read data register is loaded onto FIFO and then shifted out at SDO pin on negedge of SCK. Also, WS toggles after every I2S word have been written with MSB transmitted first.
- Receiver: In the receiver configuration I2S master samples SDI input on every negedge of SCK and a counter counts the number of sampled pulses. When the counter value matches the word length the value is parallelly loaded into the read FIFO. On reading operation, first data of FIFO stack is copied to the channel read register.
Generation Parameters- Interrupt Mask/Enable (Default = enable)
- Left/Right Justified (Current version supports left-justified)
- Stereo or Mono (Current version supports stereo mode)
Design Parameters
- Transaction FIFO length (Default = 16)
- Block offset
I2S Master Register Map
- cfg: Configuration Register (block_offset + 0x0; 32-bit wide)
- SCK (Serial Clock)

prescaler: I2S Prescaler Register (block_offset + 0x4; 32-bit wide)

left_ch_wrdata: Left Channel Write Data Register (block_offset + 0x8; 32-bit wide)

right_ch_wrdata: right Channel Write Data Register (block_offset + 0xc; 32-bit wide)

- left_ch_rddata: Left Channel Read Data Register (block_offset + 0x10; 32-bit wide)

right_ch_wrdata: right Channel Write Data Register (block_offset + 0xc; 32-bit wide)
- intr_enable: Interrupt Enable Register (block_offset + 0x1c; 32-bit wide)
Depending upon the generation parameter this register can be replaced by an interrupt mask register.

Direct Memory Access using Linked Lists (DMA-LL)
DMA linked lists are used in order to perform a set of DMA transfers without the need for CPU intervention. For this, we will make use of external descriptors to point to the data transfers between source and destination.To limit CPU intervention, we will make use of external memory. In this mode, the DMA engine will fetch the channel descriptors from the external memory. The descriptors are similar to the channel registers, except that after completing a new descriptor may be loaded. The descriptors are provided in a linked list format.
Definition of bits in external memory/ descriptor


Fig2. Working of External Descriptor
Register map of DMA will contain only one register (start_de) which will point to the start location of the descriptor/external memory. So, the CPU will only configure this register once and the rest of the transfers will be carried out by DMA itself.
- start_de: Starting address of the descriptor (block_offset + 0x0; 32-bit wide)

Since its first release in 2010 by the SPIRIT consortium (now Accellera), IP-XACT has become the de-facto format for structuring, packaging, integrating and reusing IPs within tool flows. One of the key reasons for its wide-adoption is its XML-based vendor-neutral format favorable to IP suppliers. IP-XACT can also describe components for memory and register maps, but quite limited in this area, especially as new types of register designs are needed to meet new requirements of next-generation SoCs. To address these limitations, SystemRDL was also formulated by the same industry. SystemRDL is a description language specifically for describing registers to address the growing design complexity.
What is IP-XACT?
This standard provides the EDA vendors, IP providers, and SoC design communities with a well-defined and unified specification for the meta-data that represents the components and designs within an electronic system. This specification enables delivery of compatible IP descriptions to improve the importing and exporting of complex IP that bundles to, from, and between EDA tools for the SoC design environments.
As part of design-build, generators may be provided internally by a system design tool to achieve the required IP integration or configuration, or they may be provided externally and launched by the system design tool as and when desired.
What is SystemRDL?
SystemRDL supports the full project cycle of registers from the specification, model generation, and design verification to maintenance and documentation. SystemRDL minimizes the problems encountered in describing and managing registers. Typically, in a traditional environment, the system architect or hardware designer creates a functional specification of the registers in a design. This specification is then used by other members of the team including software, hardware, and design verification. Each of these parties uses the specification to create representations of data in the languages which they use in their aspect of the chip development process.
During these verification and validation processes, bugs are often encountered which require the original register specification to change. When these changes occur, all the downstream views of this data have to be updated accordingly. This process is typically repeated numerous times during chip development. In addition to the normal debug cycle, there are two additional aspects that can cause changes to the register specification. First, marketing requirements can change, which require changes to a register’s specification. Second, physical aspects, such as area and timing constraints can drive changes to the register’s specification.
These challenges often result in a low-quality product and waste of time due to incompatible register views. Through the application of SystemRDL and a SystemRDL compiler, users can save time and eliminate errors by using a single source of the specification and automatically generating any needed downstream views.
Comparison
Since registers can be described in the textual format using these two industry standards, we often get questions about the pros and cons of each. In this article, we compare and contrast both IP-XACT and SystemRDL
There are many constructs in SystemRDL and IP-XACT to describe the registers. Table 1 shows a basic comparison between them.
Table 1: Comparison of Basic Constructs
IP-XACT 2014 SystemRDL
<ipxact:memoryMap> addrmap
<ipxact:addressBlock> addrmap
<ipxact:addressOffset> <block name>
<block_instance> @offset
none(can be handled with the help of vendor extension) external
<ipxact:width> regwidth
<ipxact:registerFile> regfile
<ipxact:addressOffset> <regroup name> <regroup_instance>@offset
<ipxact:register> reg
<ipxact:name> reg <register_name>
<ipxact:addressOffset> <reg name> <reg_instance>@offset
<ipxact:volatile> hw=wo/rw
<ipxact:reset> default
<ipxact:description> desc
<ipxact:field> field
<ipxact:bitOffset> [Lsb]
<ipxact:bitWidth> [Msb : Lsb]
<ipxact:access> sw
<ipxact:dim> [<repeat_value>]
Vendor Extensions User Defined Properties
none Documentation artifacts
Table 2 shows an implementation of a Lock Register in IP-XACT and SystemRDL. A Lock Register is a register whose software read and write access functionality is locked on another register field or based on an expression consisting of different register fields or some external signal.
Table 2: Comparison of Implementation of Lock Register
Lock Register Description in IP-XACT Lock Register Description in SystemRDL
<spirit:register>
<spirit:name>lockRegisterWrite</spirit:name>
<spirit:addressOffset>0x8</spirit:addressOffset>
<spirit:size>32</spirit:size>
<spirit:volatile>true</spirit:volatile>
<spirit:reset>
<spirit:value>0x00000000</spirit:value>
<spirit:mask>0xFFFFFFFF</spirit:mask>
</spirit:reset>
<spirit:field>
<spirit:name>Fld3</spirit:name>
<spirit:bitOffset>0</spirit:bitOffset>
<spirit:bitWidth>32</spirit:bitWidth>
<spirit:access>read-write</spirit:access>
<spirit:vendorExtensions>
<ids:default_value>00000000000000000000000000000000</ids:default_value>
</spirit:vendorExtensions>
</spirit:field>
<spirit:vendorExtensions>
<ids_properties>
<lock>locker.Fld</lock>
<address>0x08</address>
</ids_properties>
</spirit:vendorExtensions>
</spirit:register>
property lock { type=string; component = reg|field;};
addrmapblock_name {
name = “block_name Address Map”;
// Signals
signal { activelow; sync; signalwidth = 1;
desc= ” This signal is sync and activelow with width 1″; } Sig1;
..
..
reg locker {
regwidth = 32;
field {
hw = rw;
sw = rw;
} Fld[31:0] = 32’h0;
};
..
..
reglockRegisterReadWrite {
lock = “locker.Fld, wr” ;
regwidth = 32;
field {
hw = rw;
sw = rw;
} Fld4[31:0] = 32’h0;
};
reglockRegisterSignals {
lock = “Sig1, wr” ;
regwidth = 32;
field {
hw = rw;
sw = rw;
} Fld2[31:0] = 32’h0;
};
lockRegisterReadlockRegisterRead @0x00;
locker locker @0x04;
lockRegisterWritelockRegisterWrite @0x08;
lockRegisterReadWritelockRegisterReadWrite @0x0C;
lockRegisterSignalslockRegisterSignals @0x10;
};
IDesignSpec supports both SystemRDL and IP-XACT. It can take both SystemRDL and IP-XACT as an input format and automatically generate various outputs from it such as RTL, UVM Register Model, C Headers, HTML and PDF Documentation. IDesignSpec can also generate SystemRDL and IP-XACT as outputs from various types of inputs for register specification.
This article showed a comparison between IP-XACT and SystemRDL for register descriptions. To capture the design intent at the IP level, IP-XACT can, of course, be used. If the specification contains different types of common and special registers with various features and properties, SystemRDL would be a better choice. Next time, we will look closely on the advantages of IP-XACT vis-a-vis’ SystemRDL.
Creating Top Level Registers Specification for an SoC
An SoC is a highly-integrated circuit that typically contains multiple sub-systems that consist of CPUs, GPUs, Memory, Wi-Fi and Display Controllers. When it comes to design and verification of SoC registers and memory maps, one of the best-practices in IDesignSpec is to employ a hierarchical approach in defining the SoC sub-systems and components as Board, Chip, Blocks, and Sub-blocks. This saves a lot of time and helps avoid many headaches during verification.
To understand, let’s start from the very basic block diagram shown in Figure 1. Board 1 references Chip 1, 2 and 3. Chip 1, 2 and 3 all consist of Block 1, 2 and 3.